Dive into an immersive and modern reading experience, wherever you are. Aquile Reader connects your books across Windows and Android.

Dive into an immersive and modern reading experience, wherever you are. Aquile Reader connects your books across Windows and Android.

Aquile Reader is a powerful and highly customizable eBook reader app designed for both Android and Windows. Dive into an immersive reading experience with seamless cross-device sync, built-in Text-to-Speech (TTS), and a fully customizable user interface. Enjoy your own local eBook files (DRM-free) or explore a vast collection of over 50,000 free eBooks directly within the app's integrated online catalogs.
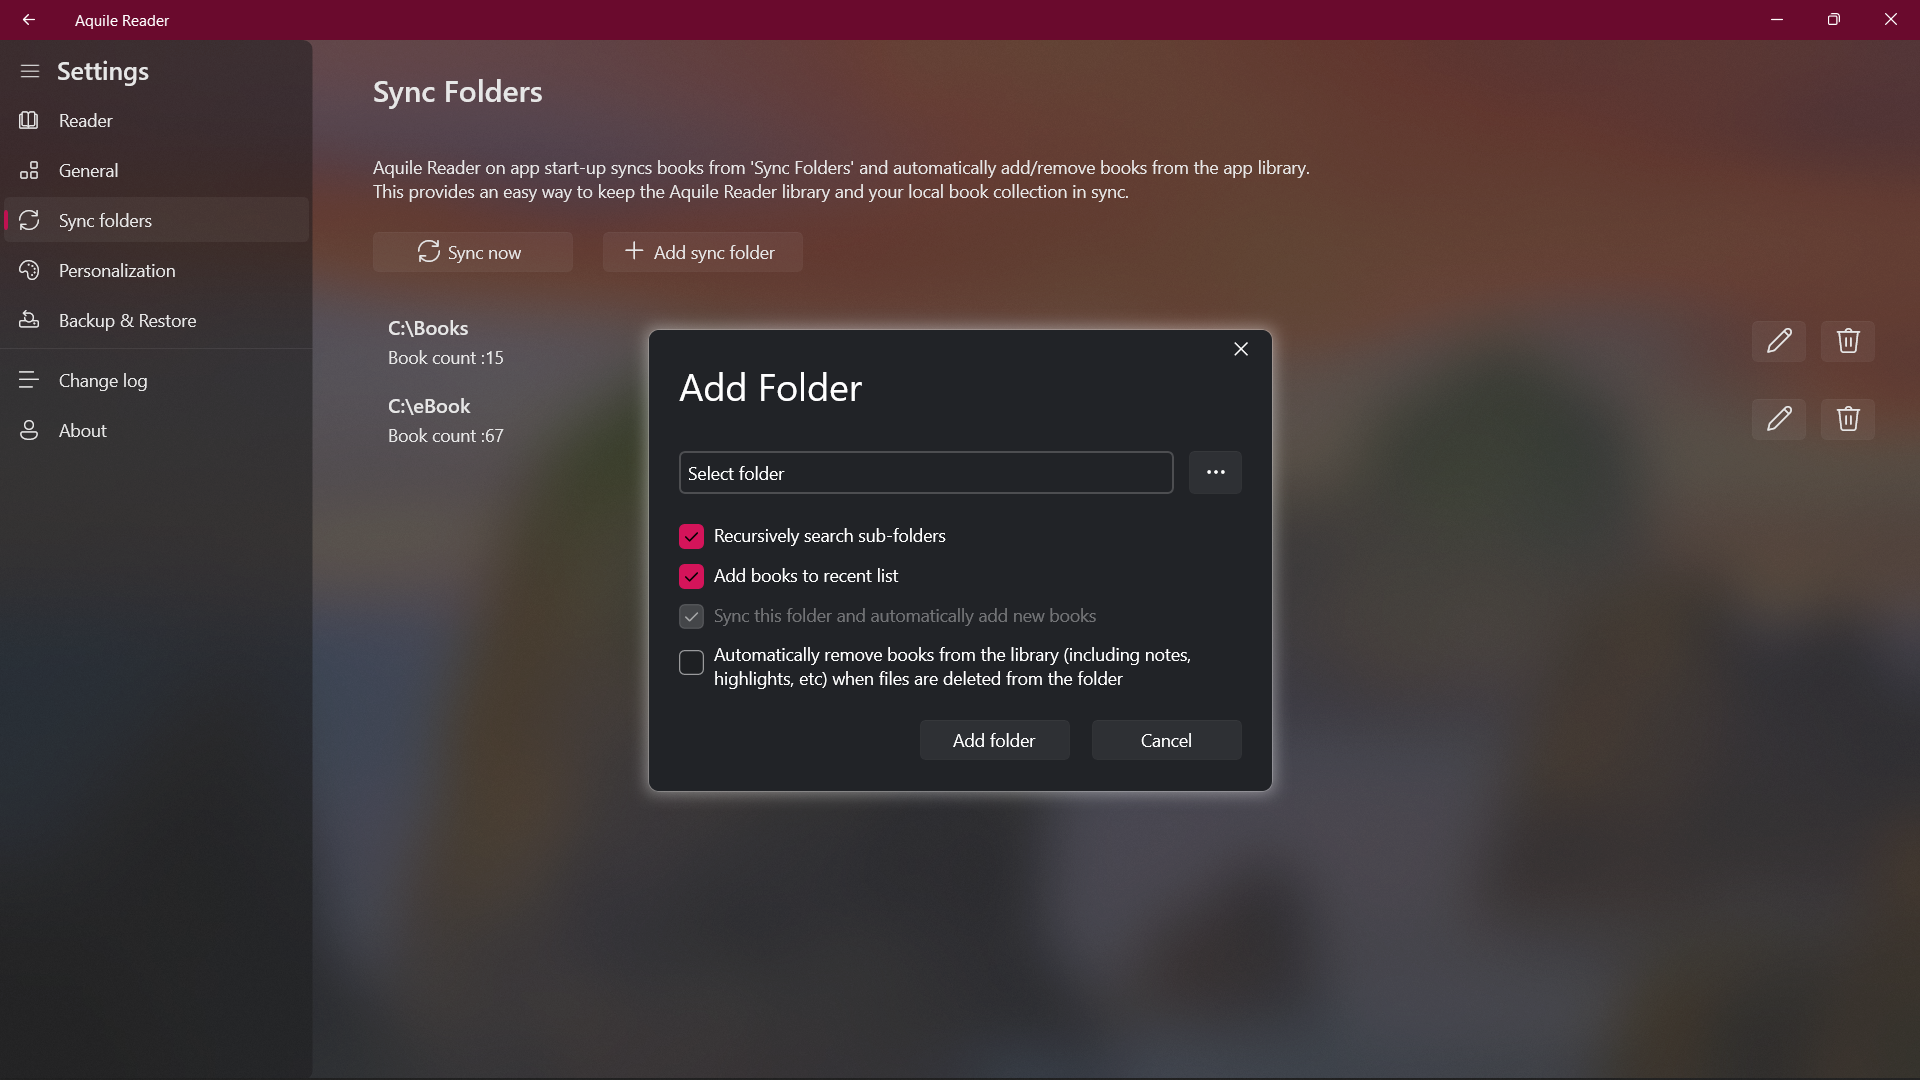
Sync your books and reading books across your phone, tablet and laptop over Windows and Android platform.
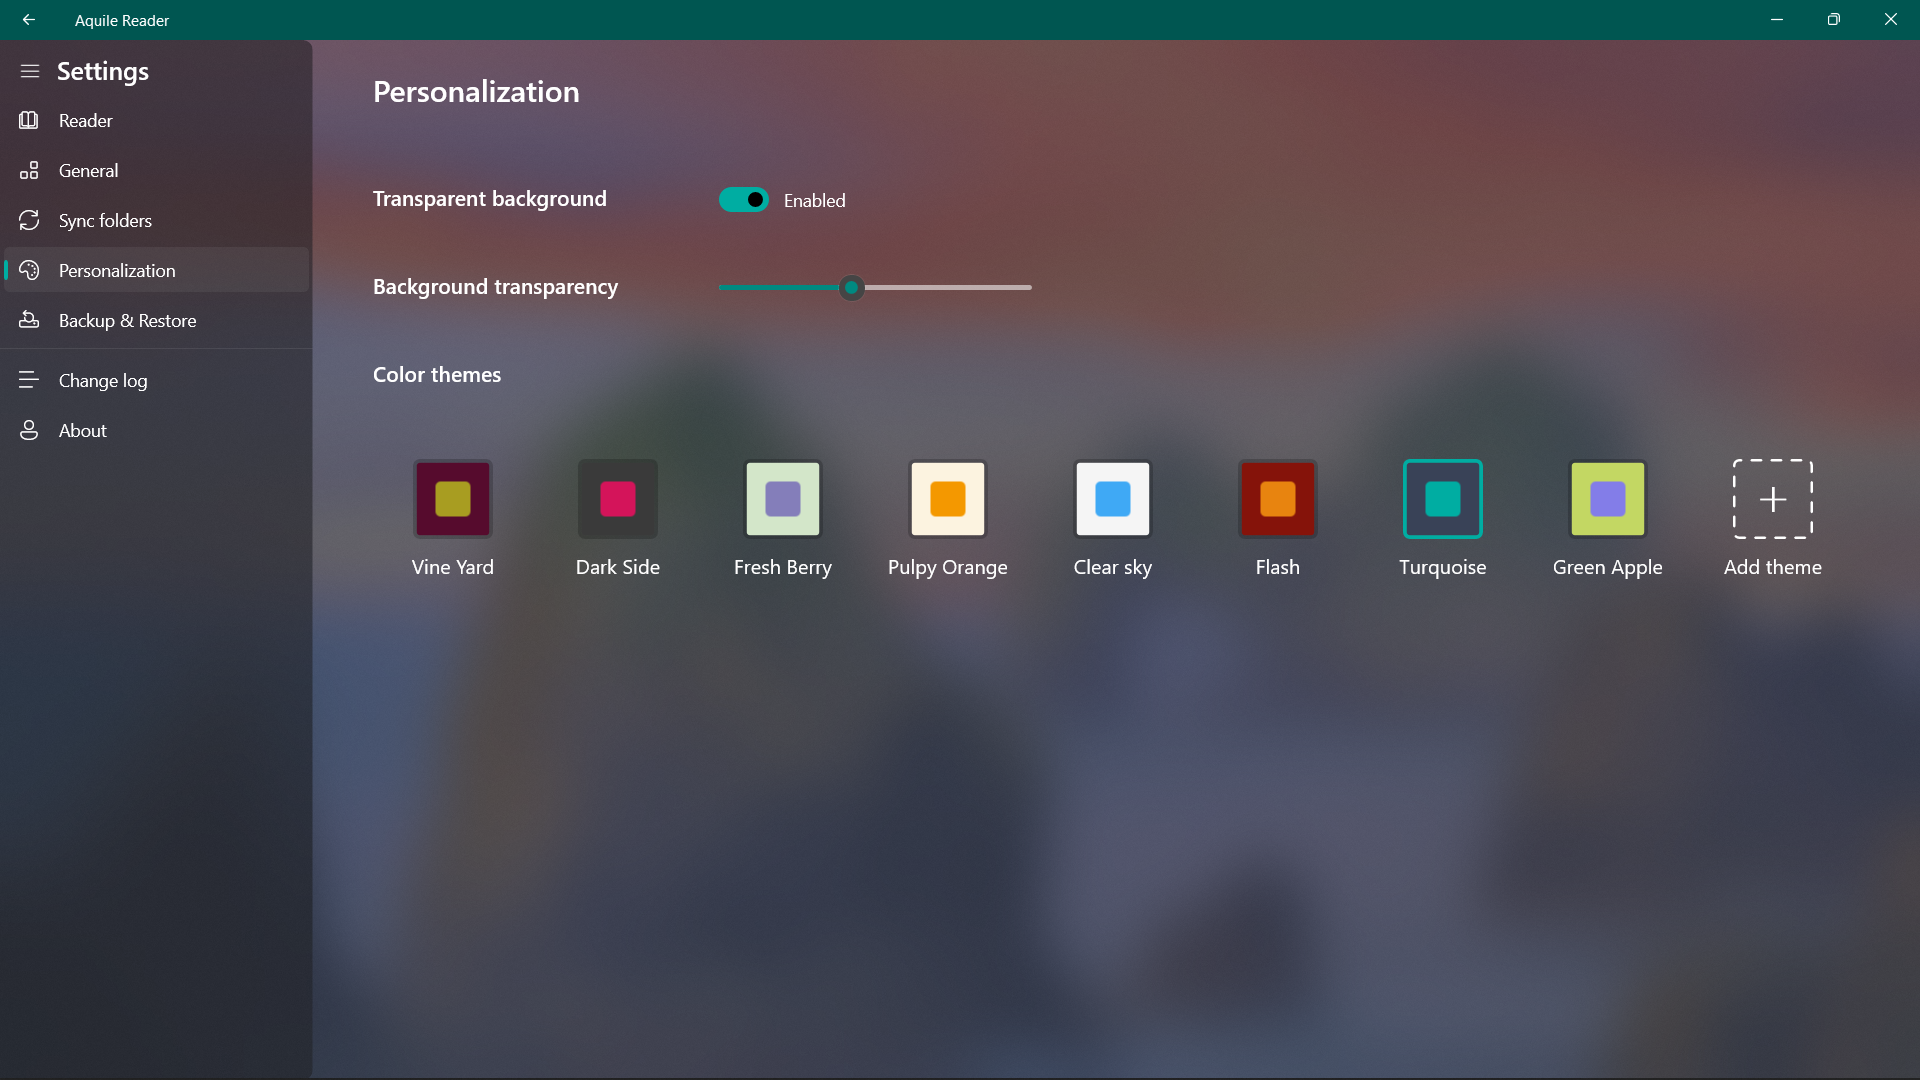
App features a modern and easy to use design.
App features in-built store to download books from some of the most popular book libraries.
digital temperature controller includes several features designed for industrial and laboratory precision. Based on its technical manuals and specifications, here are the most helpful features: 1. Dual LED Display The unit features a dual-window LED display that shows both the Measured Value (PV) Set Value (SV)
simultaneously. This allows operators to monitor real-time temperature fluctuations alongside their target temperature without switching between screens. Made-in-China.com 2. Cold End Automatic Compensation
To ensure high accuracy (typically Class 1.0 or 1.5), the device includes automatic cold-end compensation
for thermocouples. This feature adjusts for ambient temperature variations at the terminal connection, preventing measurement drift and ensuring stable readings in changing environments. Made-in-China.com 3. Multi-Input Compatibility
A key versatile feature is its support for various sensor types, often including K, E, PT100, and Cu50
. This flexibility allows the same controller to be repurposed for different industrial applications, from low-temperature refrigeration to high-temperature kilns (up to 400°C or 1300°C depending on the specific sub-model). 4. Safety and Alarm Functions The XMTD-2201 supports diverse alarm modes , including upper and lower limit alarms
. This is critical for protecting equipment from overheating or ensuring a process stays within a specific thermal window. www.clin-ele.com 5. PID & Control Flexibility Depending on the specific variant, the device offers: PID Control:
Provides precise adjustment to minimize overshoot and maintain a "flat" temperature line. Hysteresis (On-Off) Control:
A simpler mode for heating or cooling where a specific "deadband" is set to prevent the relay from clicking rapidly. Manual/Automatic Switchover:
Allows users to manually override the automated control when troubleshooting or starting a process. AliExpress Quick Technical Summary Standard 72x72mm DIN size for easy panel mounting. Adjustment
is a digital temperature controller often used in industrial machinery like plastic molding machines, ovens, and packaging equipment. It typically features an LED display for both the measured value (PV) and the set value (SV). Made-in-China.com Key Specifications Input Types:
Generally supports K, E type thermocouples or PT100 thermal resistors. Power Supply: AC 220V or AC 380V. Dimensions: 72 x 72 x 100mm (with a 68 x 68mm hole size). Control Mode: Typically On/Off or time-proportional control. Made-in-China.com Basic Operation & Setting
To operate the controller, you generally use the front panel buttons: Set Point (SV) Adjustment: key to enter the setting mode. arrow keys to increase or decrease the target temperature. again to save the value and return to the main display. Auto-Tuning (if applicable):
Some models allow for automatic adjustment (AT) to find the best control parameters. Error Indicators:
If the display shows "000" or "OVER," it often indicates a damaged temperature sensor or an input signal that is out of range. Wiring Overview
While you should always check the diagram on the physical unit’s label, standard wiring for this series typically includes: Power Input: Terminals for AC 220V power. Sensor Input:
Specific terminals for connecting your thermocouple or PT100 sensor.
In the world of industrial automation, precision is everything. Whether you are curing ceramics or managing a food processing line, a few degrees can be the difference between a perfect batch and a wasted day. Enter the XMTD-2201, a versatile digital thermostat designed for simplicity and accuracy. Key Features at a Glance
Dual Display: Simultaneously shows your Measured Value (PV) and Set Value (SV).
Smart Protection: If a sensor breaks, the unit displays "000" and cuts power to the heater automatically to prevent damage.
High Durability: Rated for over 210,000 cycles, ensuring it survives long-term industrial use. Universal Fitting: Standard
size makes it a drop-in replacement for many older analog units. Quick Setup & Installation Tips
Setting up the XMTD-2201 doesn’t require a degree in electrical engineering, but it does require attention to detail.
Mounting: Secure the instrument in your control panel using the included mounting brackets. xmtd-2201 manual
Wiring: Follow the diagram on the side of the unit carefully. Ensure your thermocouple or thermal resistor (like a K-type) is placed away from power cords to avoid electrical interference.
The "90% Rule": For a stable start-up, set your temperature to 90% of your target first. Let the system stabilize through a few heating cycles before bumping it up to your final desired value. Reading the Lights: Green Light: Heating is active. Red Light: Target temperature reached; heating stopped. Why Professionals Choose the XMTD-2201
Industry pros often reach for this model because it’s a "set-and-forget" solution. Its automatic cold-end compensation for thermocouples ensures accuracy even as the ambient temperature in your factory fluctuates. It’s also a common alternative to other popular controllers like the Autonics T4M or TC-3AD. Troubleshooting 101
If your unit isn't heating, check the sensor first. A common sign of a failed thermocouple is the "000" breakage reminder. If the relay isn't clicking, verify your wiring against the XMT series wiring guide to ensure the circuit is closed properly.
XMTD-2201 Manual: A Comprehensive Guide
Introduction
The XMTD-2201 is a state-of-the-art device designed to provide efficient and reliable performance in various applications. This manual serves as a comprehensive guide for users, providing detailed information on the device's features, installation, operation, maintenance, and troubleshooting.
Device Overview
The XMTD-2201 is a [insert device type, e.g., temperature controller, data logger, etc.]. It features a user-friendly interface, high-precision measurements, and robust construction, making it an ideal choice for industrial, commercial, and research applications.
Key Features
Installation
Operation
Maintenance
Troubleshooting
Warranty and Support
The XMTD-2201 device is covered by a [insert warranty period, e.g., 2-year] limited warranty. For technical support, please contact:
[Insert manufacturer's name] [Insert contact information]
Conclusion
The XMTD-2201 manual provides a comprehensive guide for users to understand and operate the device effectively. By following the guidelines outlined in this manual, users can ensure optimal performance, accuracy, and reliability from their XMTD-2201 device.
If "xmtd-2201" refers to a specific device, machine, or electronic product, here are a few general steps you can take to find the manual and understand its features:
Without more specific information about the "xmtd-2201," I'm unable to provide detailed features or a manual for it. If you have any more details about the product, such as its category (e.g., electronics, power tools, kitchen appliances) or intended use, I might be able to offer more general advice or point you in the direction of resources that could help.
Go to product viewer dialog for this item. is a digital temperature controller typically used in industrial machinery like plastic molding or heat treatment. It features a large LED display and uses two-position (ON/OFF) or time-proportional control to maintain process stability. Made-in-China.com 1. Key Specifications Dimensions: mm (requires a mm mounting hole). Power Supply: Input Signals:
Compatible with Thermocouple (K, E) or RTD (Pt100, Cu50) sensors. Installation
Relay contact (3A 220V resistive) or voltage pulse for driving an External SSR (DC 0-12V). Made-in-China.com 2. Wiring and Installation
Install the unit into your panel and secure it with the provided mounting brackets.
Refer to the diagram on the side of your specific unit. Standard terminals usually include: Terminals for AC 220V input. Input terminals for your thermocouple or RTD. Load/Output: Terminals for your heater or relay/SSR control.
Ensure the temperature sensor is kept away from power cords to avoid interference. 3. Configuration Guide The XMTD-2201 often uses a dial switch potentiometer for settings rather than complex menus. Setting the Target Temperature: Dial Type: Directly rotate the dial to your required temperature. Potentiometer Type:
Switch the selector to "SET", turn the knob until the display shows the desired value, then flip the switch back to "MEASURE". Operating Indicators: Green Light: The controller is actively heating (Output is ON). Red Light:
The target temperature is reached, and heating has stopped (Output is OFF). Setting Limits:
Use the "Mode" button (if available on your variant) to toggle between Upper and Lower limits. Use the "+" and "-" buttons to adjust values to create a hysteresis effect , preventing the system from cycling too frequently. AliExpress 4. Maintenance and Troubleshooting Poor Accuracy:
Check that the sensor type (e.g., K-type or Pt100) matches the controller's internal settings. Erratic Readings:
Inspect terminal blocks for loose connections or corrosion caused by industrial dust or moisture. Power Down:
Always turn off the system before inspecting wiring or replacing internal components. Alibaba.com For further technical details, you can view the full XMT Series Instruction Manual ControllerMeter wiring diagram specific to a relay or an SSR setup for this unit?
The XMTD-2201 is a reliable, industrial-grade digital temperature controller valued for its high accuracy, stability, and straightforward setup. It is a versatile choice for environments requiring consistent thermal regulation, such as ovens, incubators, and injection molding machinery. Core Performance Review
Precision and Stability: The unit maintains tight control with a basic error of
FS, preventing the wild fluctuations often seen in generic models.
Safety Features: It includes a critical breakage reminder—if the sensor is damaged, the display instantly shows "000" and disconnects the relay to prevent overheating and protect equipment.
Durability: Core components are rated for a service life of approximately 210,000 cycles, making it a long-term solution for industrial applications. Key Technical Specifications Specification Temperature Range 0–400°C (standard) Input Signals Supports K, E thermocouples and RTD (Pt100, Cu50) Control Method Three-position relay on-off or time proportional control Output Type Relay contact (220V AC, 3A resistive) Panel Dimensions 72 x 72 mm (Hole size: 68 x 68 mm) Power Supply AC 220V/380V, 50/60Hz Setup and Maintenance Insights
Mounting: The unit uses an embedded panel press-buckle installation.
Wiring Precautions: Users should ensure shield wires are properly grounded to avoid signal interference, which can cause abnormal readings.
User Interface: The LED display is highly visible for real-time monitoring of both measured and set values.
While it lacks the advanced programming of high-end smart controllers, the XMTD-2201's robust construction and ease of use make it a "steadfast tool" for most industrial heating needs.
The XMTD-2201 is a digital temperature controller widely used in industrial heating and cooling systems. This guide provides a comprehensive breakdown of its features, wiring, and programming. 🛠️ Key Specifications Input Type: K-type thermocouple (standard) or RTD (Pt100). Control Mode: Intelligent PID or ON/OFF control. Output: Relay contact (5A) or SSR drive signal. Display: Dual LED (Process Value and Set Value). Power Supply: 85–264V AC. 🔌 Wiring Diagram & Installation
Before powering the device, ensure the terminal connections match your specific model.
Power Terminals: Connect your AC power source to the designated L and N terminals (usually pins 1 and 2). Sensor Input:
Thermocouple: Connect positive to pin 8 and negative to pin 9. Pt100: Uses pins 8, 9, and 10 (three-wire compensation). Load Output: Operation
Relay Model: Use the COM and NO (Normally Open) terminals to switch your heater or cooler.
SSR Model: Connect the DC output directly to the SSR input terminals. ⚙️ Programming and Parameter Settings
To enter the parameter menu, press and hold the SET key for 3 seconds. Use the ▲ and ▼ keys to adjust values. Basic Configuration
Set Point (SV): Tap the SET key once, adjust the value, and press SET again to save.
Hy (Hysteresis): Used in ON/OFF mode to prevent rapid switching.
P, I, D: These control the responsiveness of the PID algorithm. Advanced Parameters (Passcode: 0088)
Accessing the deeper menu allows for calibration and input changes: Inty: Change the input type (K, S, E, Pt100). Outy: Change the output method.
SC: Sensor calibration (offset adjustment if the reading is slightly off).
At: Auto-tuning. Set this to "1" to let the controller automatically calculate the best PID values for your system. 💡 Troubleshooting Common Issues
Display shows "EEEE": This usually indicates a sensor error. Check for a broken thermocouple or loose wiring.
Temperature overshoots: The "P" (Proportional) band may be too narrow. Run the Auto-tuning (At) function to fix this.
No output: Check the "AL1" or "AL2" settings; an alarm might be overriding the main control loop. 📋 Safety Precautions Always disconnect power before wiring.
Ensure the sensor is rated for the maximum temperature of your application.
Keep high-voltage power lines separate from low-voltage sensor wires to avoid interference. If you'd like to dive deeper, let me know: Are you using a thermocouple or a Pt100? Are you driving a mechanical relay or an SSR?
Do you need help calculating PID values for a specific process?
I can provide a custom step-by-step programming sequence based on your hardware.
| Key | Function | |-----|-----------| | SET | Enter parameter menu / confirm | | ◀ or ▼ | Decrease value / navigate | | ▲ | Increase value |
WARNING: Disconnect all power before wiring. Improper wiring will destroy the unit or cause fire. Refer to the sticker on top of the actual unit, as terminal assignments vary by manufacturer clone.
| Problem | Possible Cause | Fix |
|---------|---------------|-----|
| No display | No power | Check supply voltage |
| Temp not stable | Wrong PID values | Run auto-tune |
| Output always on | Relay stuck / wrong mode | Check control mode (PID vs ON/OFF) |
| Wrong reading | Wrong input type | Set InP parameter correctly |
Problem: The display shows "HHHH" or "OPEN"
Problem: The display shows "LLLL"
Problem: The temperature keeps rising past the setpoint (Overshoot).
Problem: The output indicator is ON, but the heater is not working.